Your First Cutting Board: A Weekend Project
A beginner-friendly end-grain cutting board that teaches grain direction, glue-ups, and finishing without specialty tools.
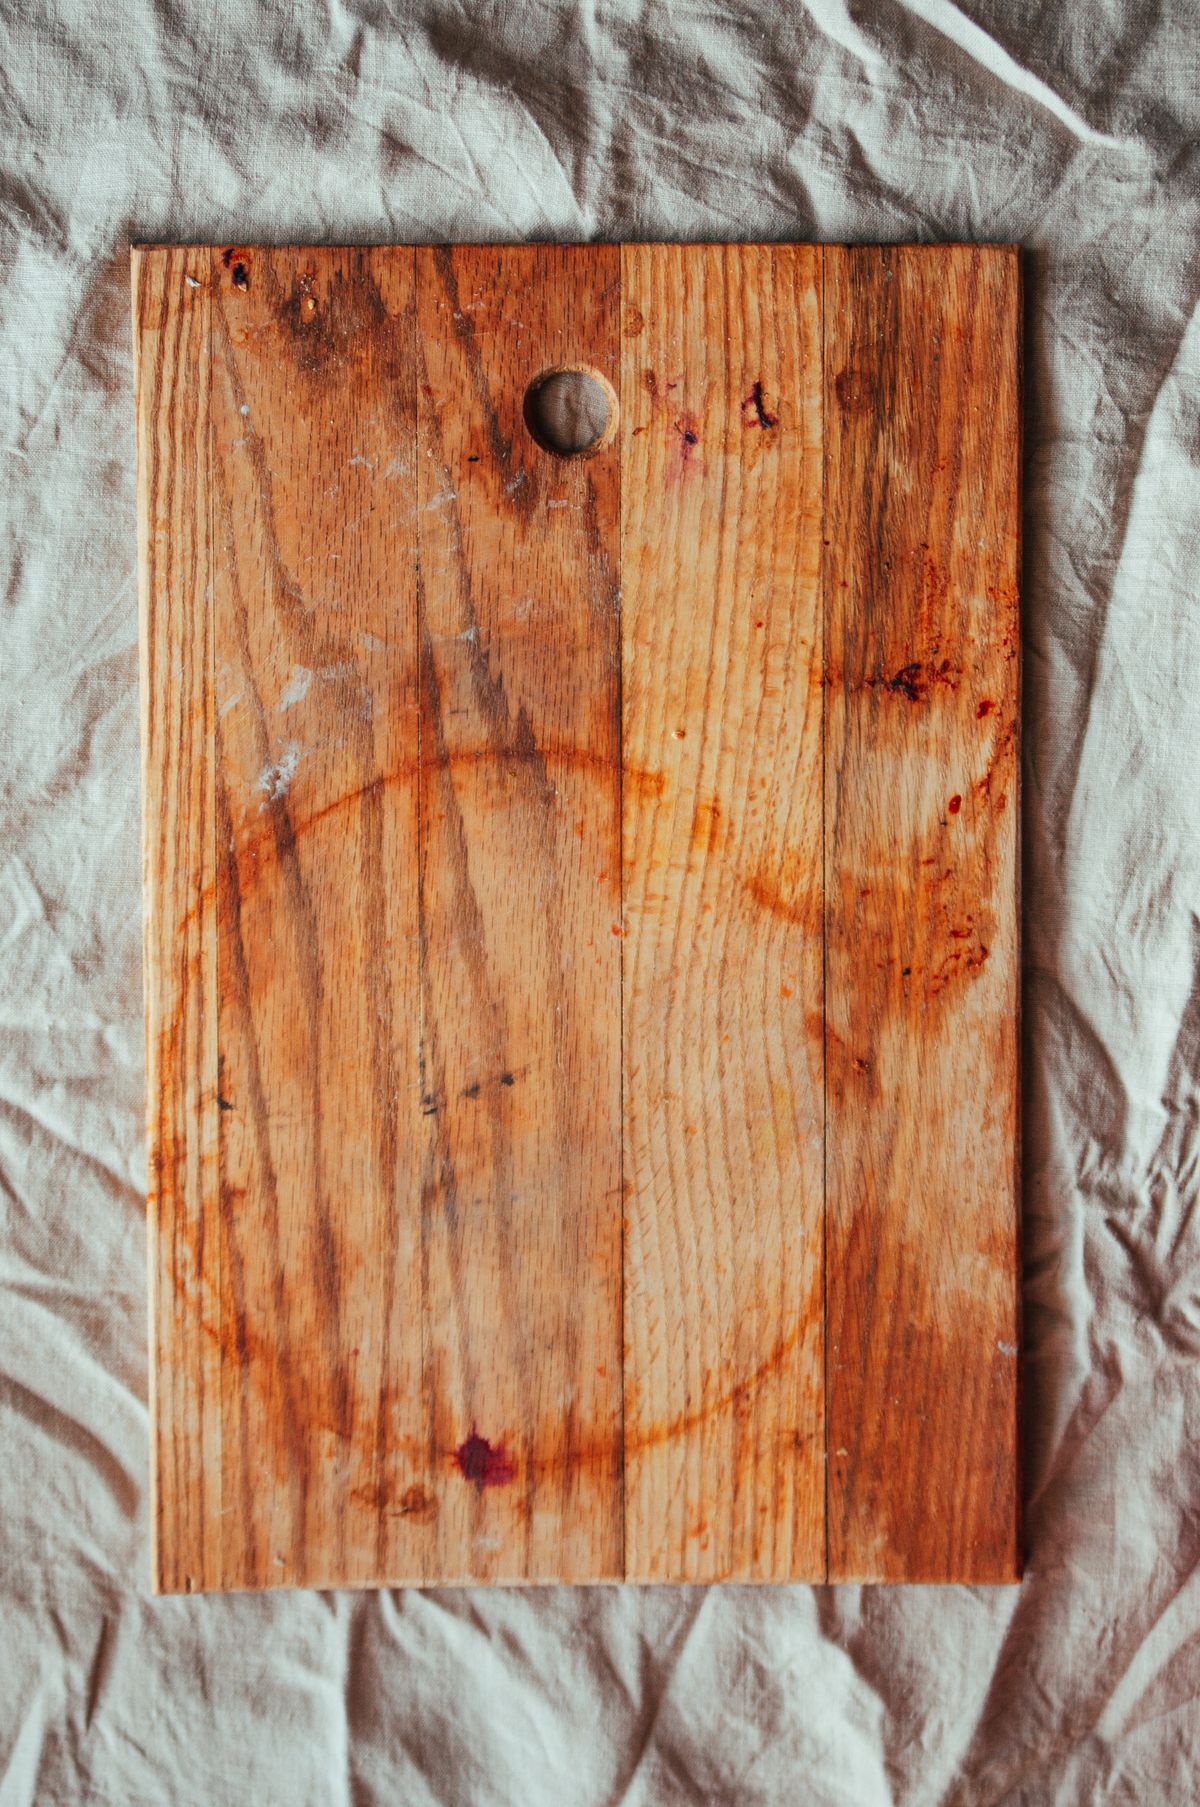
A cutting board is the best first project in woodworking because it teaches grain direction, a clean glue-up, and a food-safe finish, and you end up with something you use every day.
Start with a single hardwood board — maple or walnut are forgiving and look great. Mill it to roughly 1½ inches thick, then rip strips about 1½ inches wide.
For an end-grain board, crosscut the long strip into 1½-inch blocks, then flip every other block so the growth rings alternate. That is what makes the board stable and gives you the checkerboard pattern.
Dry-fit first. Lay the blocks in order, square the row against a fence, and only then mix the glue. Titebond III gives a little more open time and is waterproof once cured.
Clamp evenly until a thin bead of glue squeezes out across the whole seam. Wait 24 hours, then plane or sand the faces flat. A chamfer on every edge hides small imperfections and feels better in the hand.
Finish with food-grade mineral oil — three thin coats the first day, then once a month. That finish is the difference between a board that lasts a decade and one that cracks in winter.
When you want to move past a single board, Ted’s Woodworking has thousands of step-by-step plans with cut lists and diagrams. It is the resource we point every new woodworker to.
Featured resource
Thousands of step-by-step woodworking plans
A large plan library for backyard furniture, beginner builds, and workshop projects.
More in Woodworking
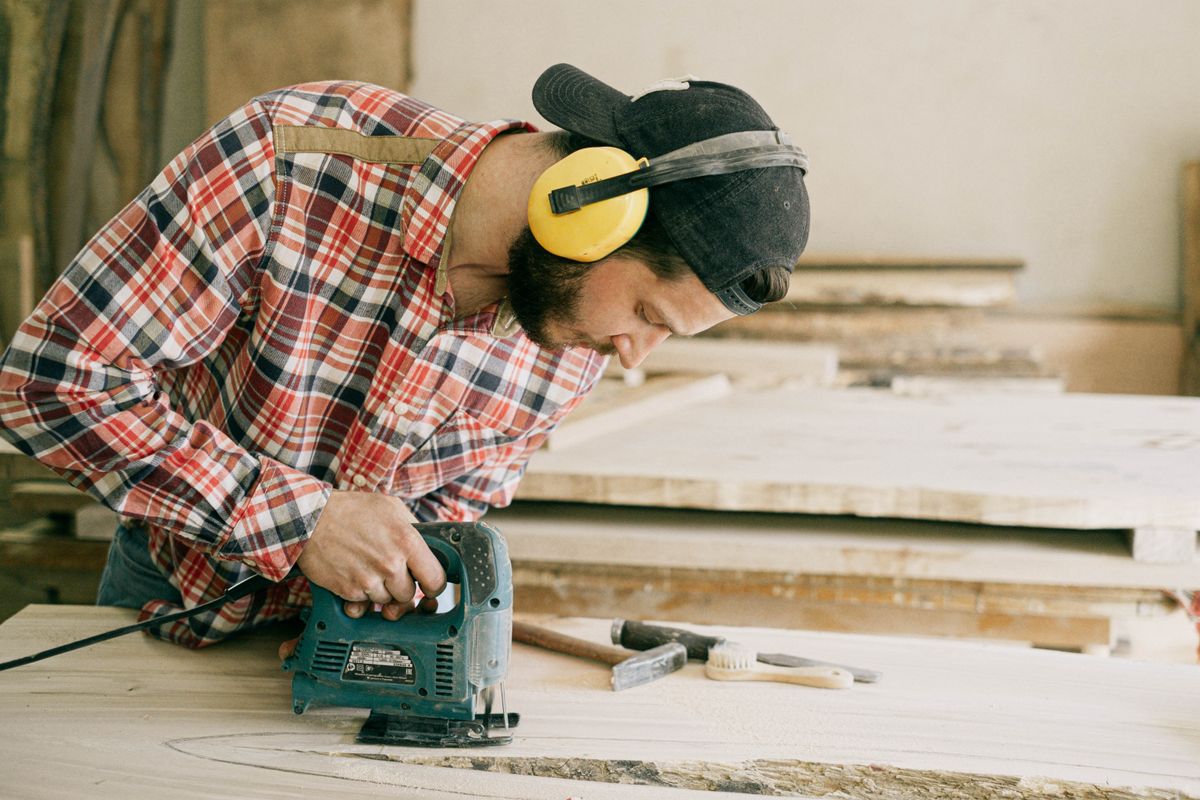
Five Jigs That Make Your Workshop Safer
A crosscut sled, a taper jig, and three more simple builds that turn a basic saw into a precision tool.

Best Backyard Furniture Plans for Beginners
Simple benches, stools, and outdoor tables that fit a small workshop and a small budget.